Add Columns and Formulas
Let’s get ready to start adding columns and formulas to our analysis.
Column data types
Before adding columns and formulas in Tabmega, it’s important to understand the concept of column data types.
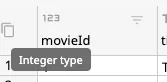
You might have already noticed that the column headers in Tabmega are not letters like A, B, C in Excel and Google Sheets. Instead each column has a descriptive name, such as movieId. Each column also has an icon such as or . If we hover over these icons we can see it corresponds to the data type of the column, such as Integer type or Text type:
Column data types impose more structure on your data - for example you can’t have text values in an integer column. This makes Tabmega less flexible than traditional spreadsheets, where any cell can have any type of value. However this unlimited flexibility of traditional spreadsheets is one of the main reasons Excel and Google Sheets have row limits. By requiring more structure Tabmega is able to scale to much larger datasets.
In addition to scaling to bigger data, column data types have other benefits like keeping your data clean and organized. In fact, Excel and Google Sheets have a feature called Tables that puts data types on your columns in those products. They don’t get rid of the row limits, but they do help keep your data more organized and clean than regular spreadsheets.
See the Data Types page for a list supported data types and how to convert between them.
Adding a column and formula
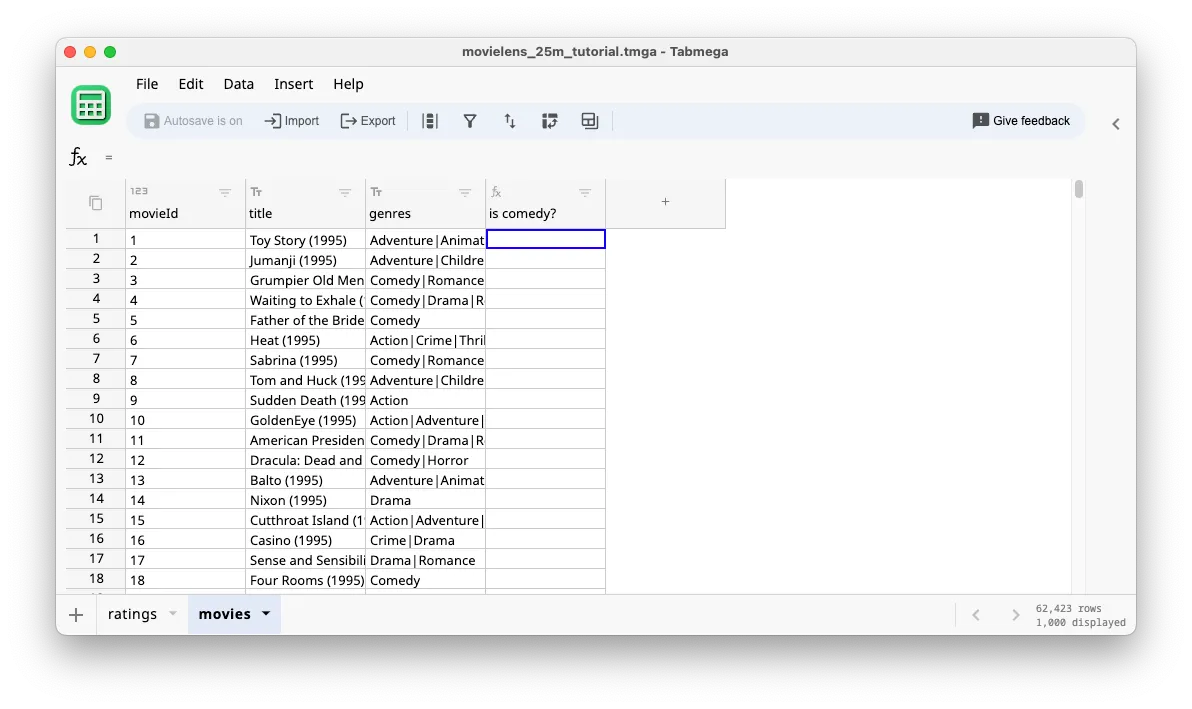
Let’s add a column.
- Click on the column to the far right with the + button. If you like using the keyboard instead of the mouse, you can navigate to the button with the arrow keys and it will have the same effect.
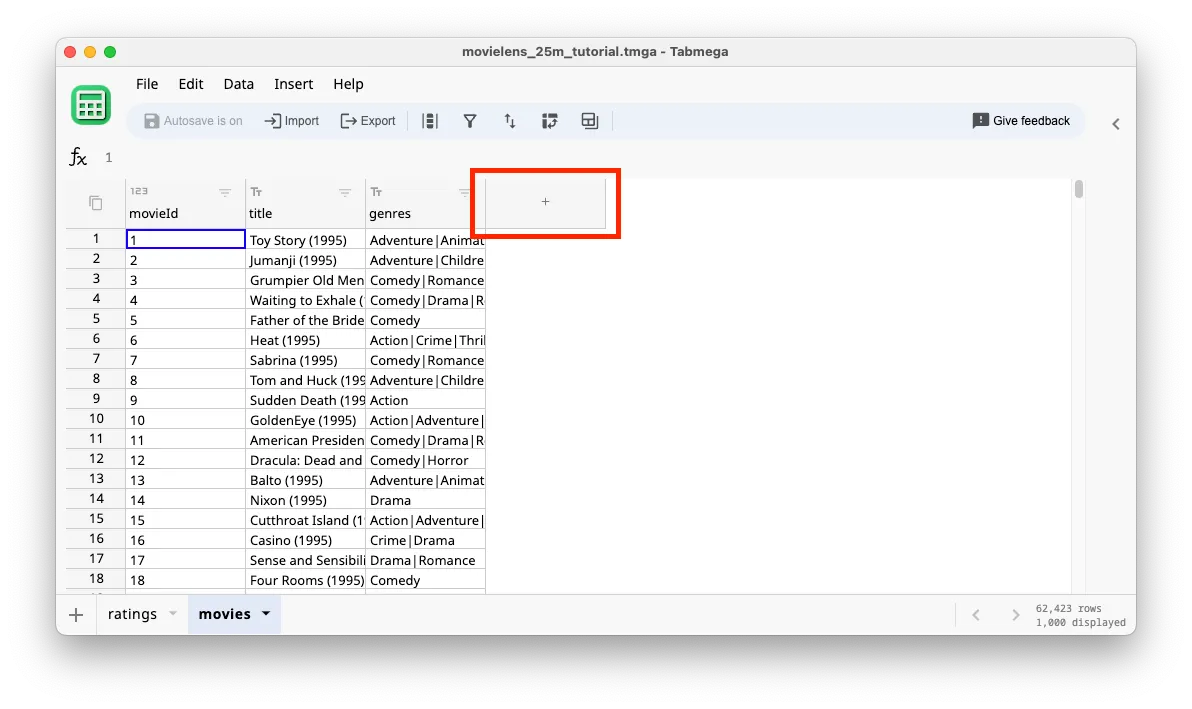
- You’ll see a new column called
Column4. Double-click on the column name, or just start typing and you’ll be able to rename the column. We’ll name this columnis comedy?and write a corresponding formula shortly to determine if the movie has Comedy in it’s genres list.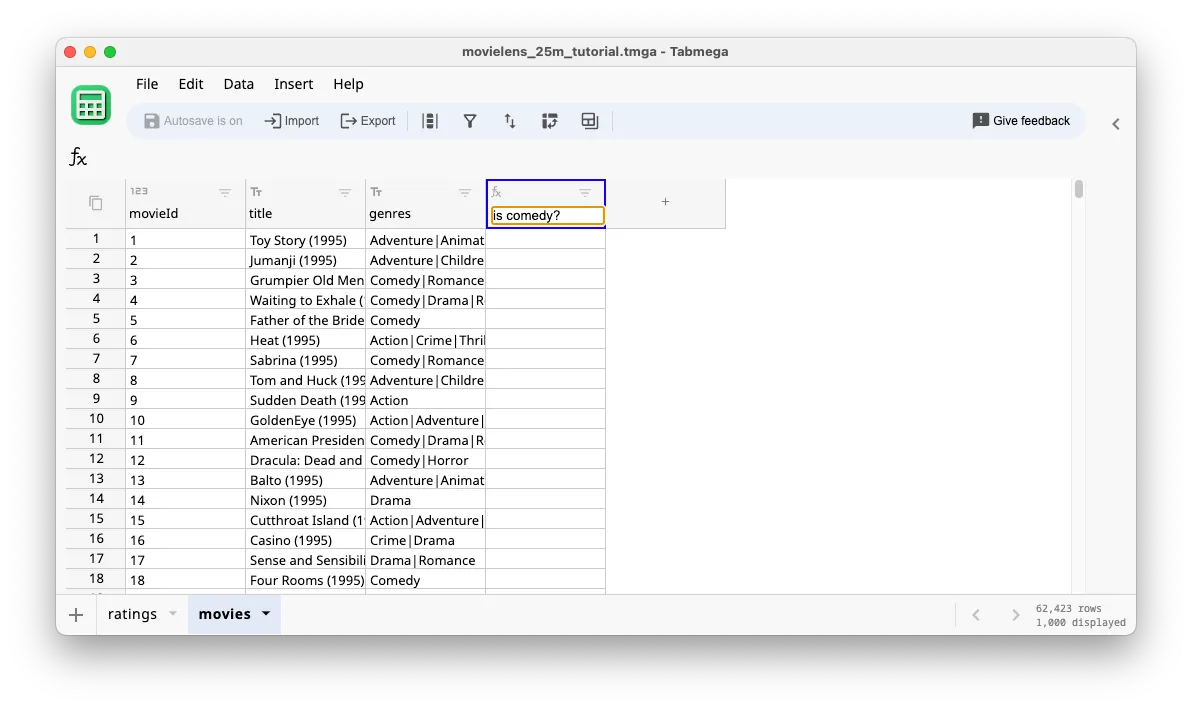
- Hit the Enter key to finish renaming the column.
- Double-click the cell in the first row
is comedy?to start entering a formula. Alternatively if you prefer the keyboard, simply start typing while having the cell selected in blue.
- Similar to Excel, we’ll use the FIND function to determine if the genre list has “Comedy” in it. Start typing
FIand you’ll see the autocomplete menu appear. You can click onFINDor use the Tab key to autocomplete it.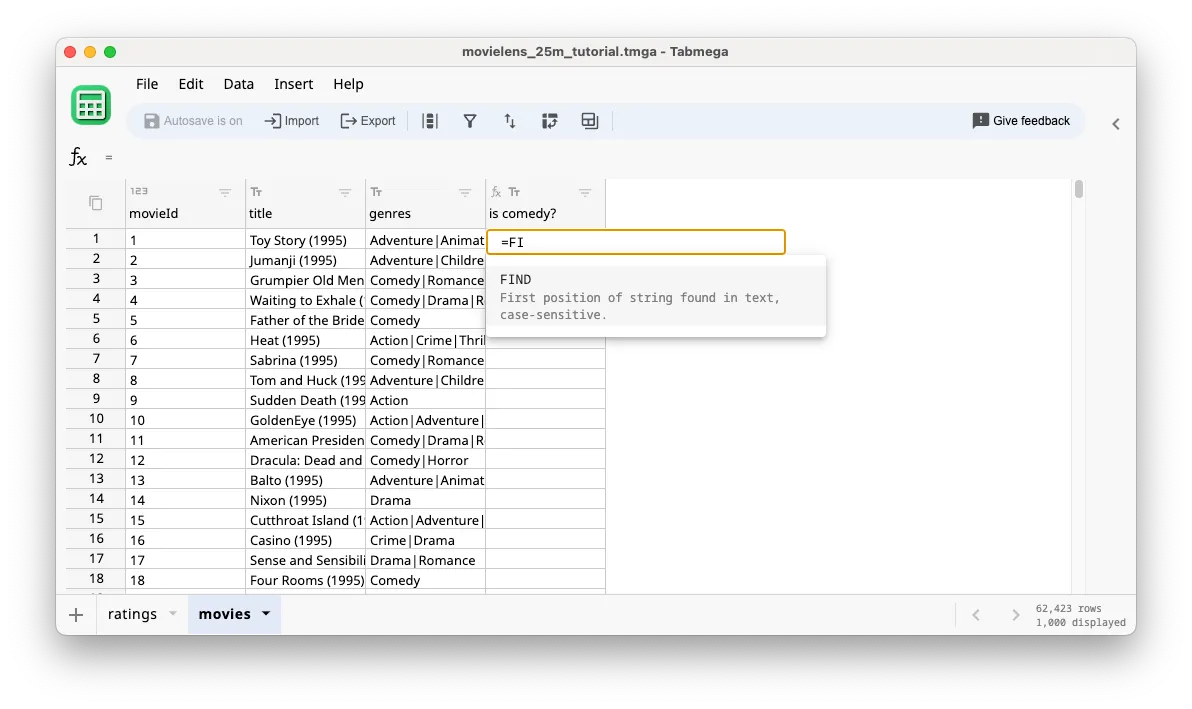
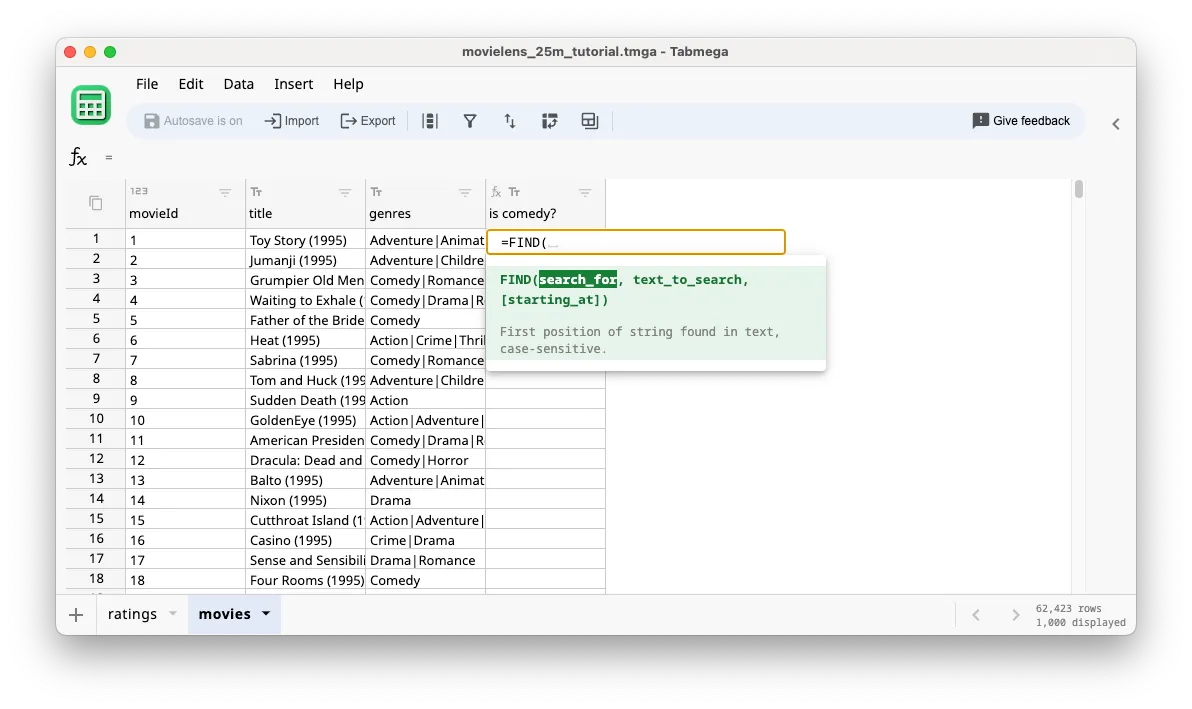
- Enter the string
"Comedy"as the first argument to the FIND function, since that’s the string we want to search for. Enter,to start the second argument.
- For the second argument, you can click with the mouse or use the left arrow key to select the genres cell in row 1.
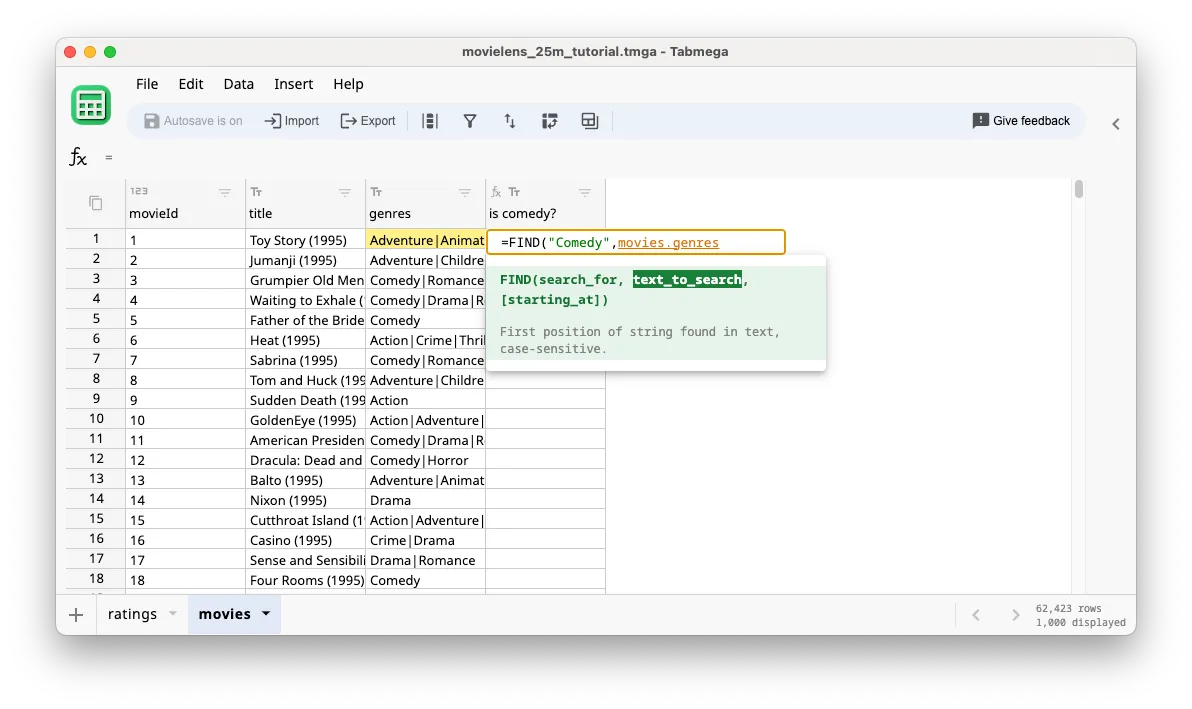
- Let’s complete the formula with
)and hit the Enter key since the third argument toFINDis optional — as indicated by the[]surroundingstarting_atin the documentation — and we don’t need it.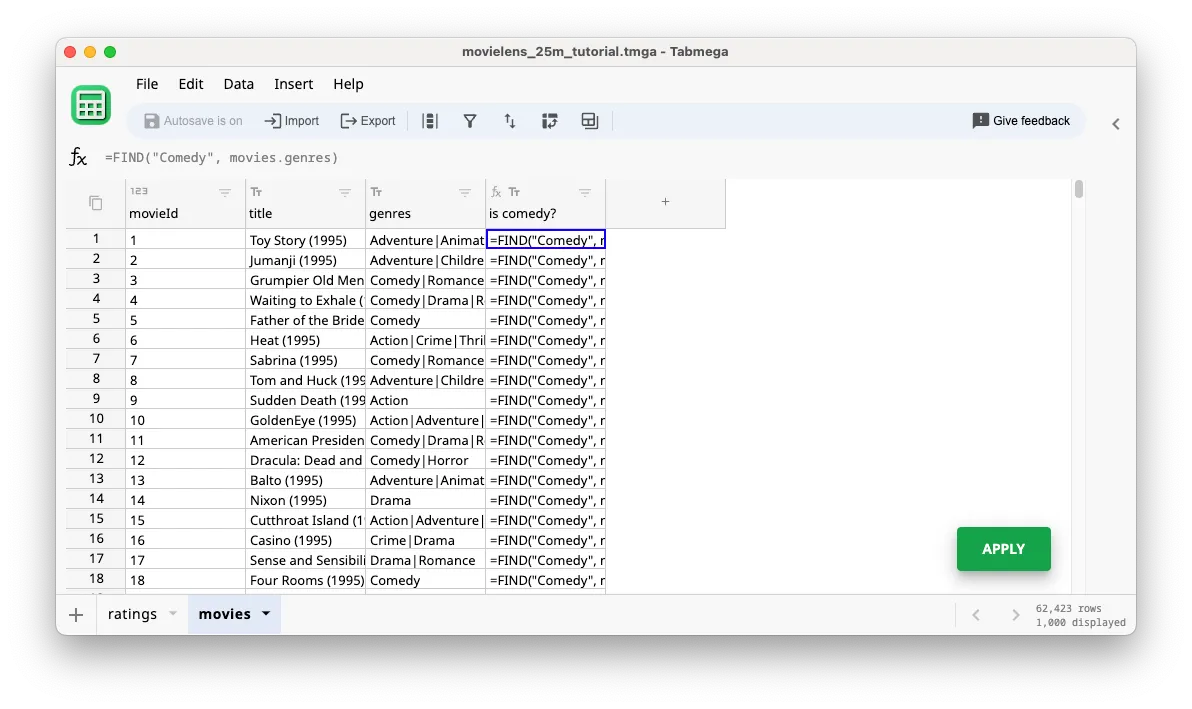
Differences from Excel for big data
You may have noticed several differences from Excel when inputting this formula. These differences make Tabmega more optimized for handling big data, but might require a bit of adjustment. Key differences to be aware of include:
1. All cells in a column have the same formula
A column in Tabmega is associated with a single formula. As we saw above, the formula we entered was automatically applied to every cell in the is_comedy ? column. If we double-click on a cell below row 1, we can see it referencing the movies.genres cell for it’s respective row:
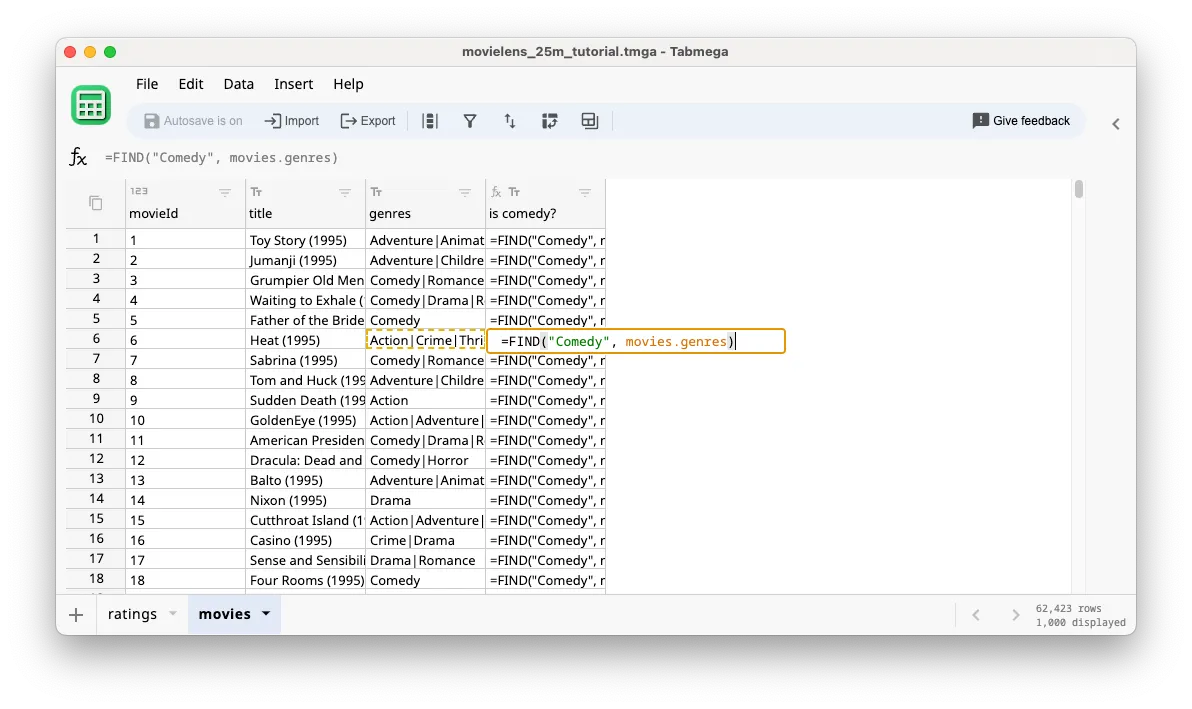
Similar to column data types, having a single formula for a column makes Tabmega less flexible than traditional spreadsheets but helps it scale to much larger datasets. Intuitively Tabmega is able to parallelize the computation across all the rows in a column and perform other advanced optimizations that make big data processing much faster. See the Tech Stack section if you are interested in more information.
2. Running the calculation requires clicking ‘Apply’
While most Tabmega big data calculations are completed quickly, especially compared to traditional methods, some larger or more complex tasks might still require time to calculate. As a result, Tabmega doesn’t automatically run the calculation when you enter a formula. Instead the Apply button appears in the bottom right. If you have several calculations that often take >10 seconds, you can perform update all your formulas at once and click Apply (or Shift+Enter on the keyboard). Go refill your coffee while Tabmega crunches the data.
The primary factors impacting calculation speed are dataset size and your computer’s power. The tables below illustrate Tabmega calculation times on a base 2024 Mac mini that costs $599 using example datasets:
| Sample dataset size | Calculation time adding two number columns |
|---|---|
| 25M rows | < 1 sec |
| 50M rows | ~2 sec |
| 100M rows | ~4 sec |
| 200M rows | ~8 sec |
| Sample dataset size | Calculation time of XLOOKUP from a ~62K row table |
|---|---|
| 25M rows | ~2.5 sec |
| 50M rows | ~5 sec |
| 100M rows | ~10 sec |
| 200M rows | ~20 sec |
3. Cells are referenced by column name vs cell ranges
There are no cell ranges in Tabmega, such as A1:A25000095. All other cells are referenced by table_name.column_name such as movies.genres in the formula above. This is another tradeoff that allows Tabmega to scale to bigger datasets but makes it less flexible than Excel and Google Sheets.
Referencing by column name in Tabmega has another benefit that it can make it easier to check correctness. Instead of needing to manually check what column is A1:A25000095, it’s obivious from the column name.
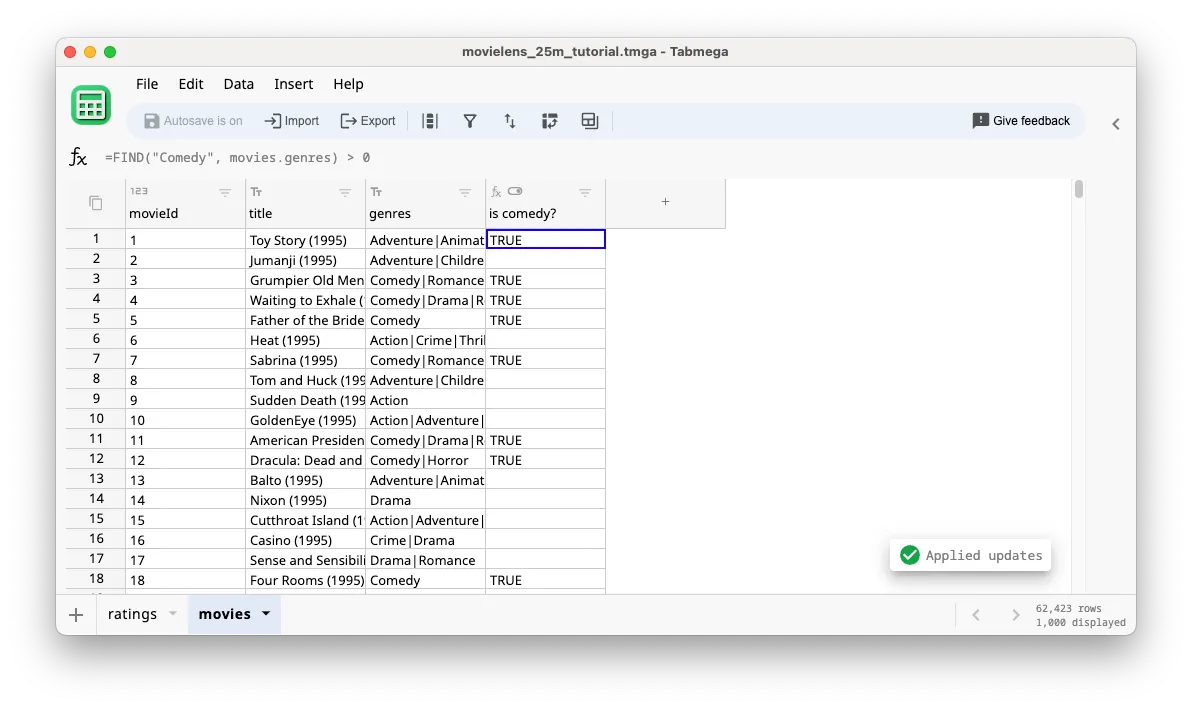
Clicking ‘Apply’
Let’s run the calculation by clicking the Apply button.
You might notice a brief processing dialog and then the result appears. We can see that all columns with Comedy have its character number in the genres string.

Editing the formula
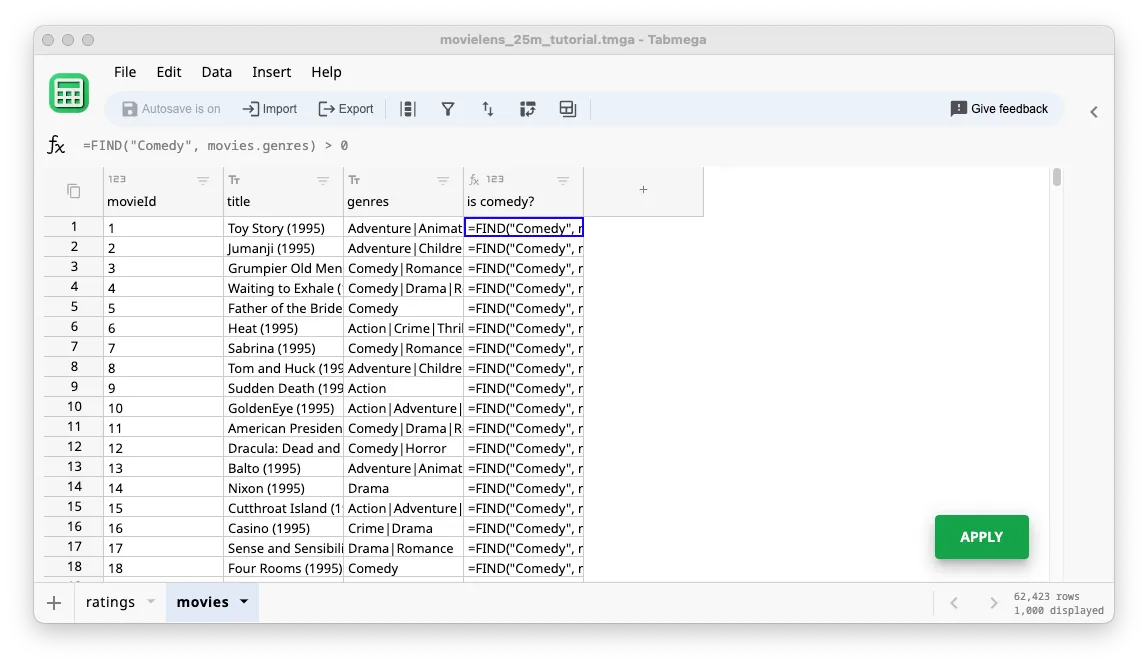
Instead of the character number output from the FIND function, let’s have a simple TRUE value for the is comedy column? by slightly editing the formula.
-
Double-click on a cell in the
is_comedy?column. Alternatively press the F2 function key while the cell is selected in blue.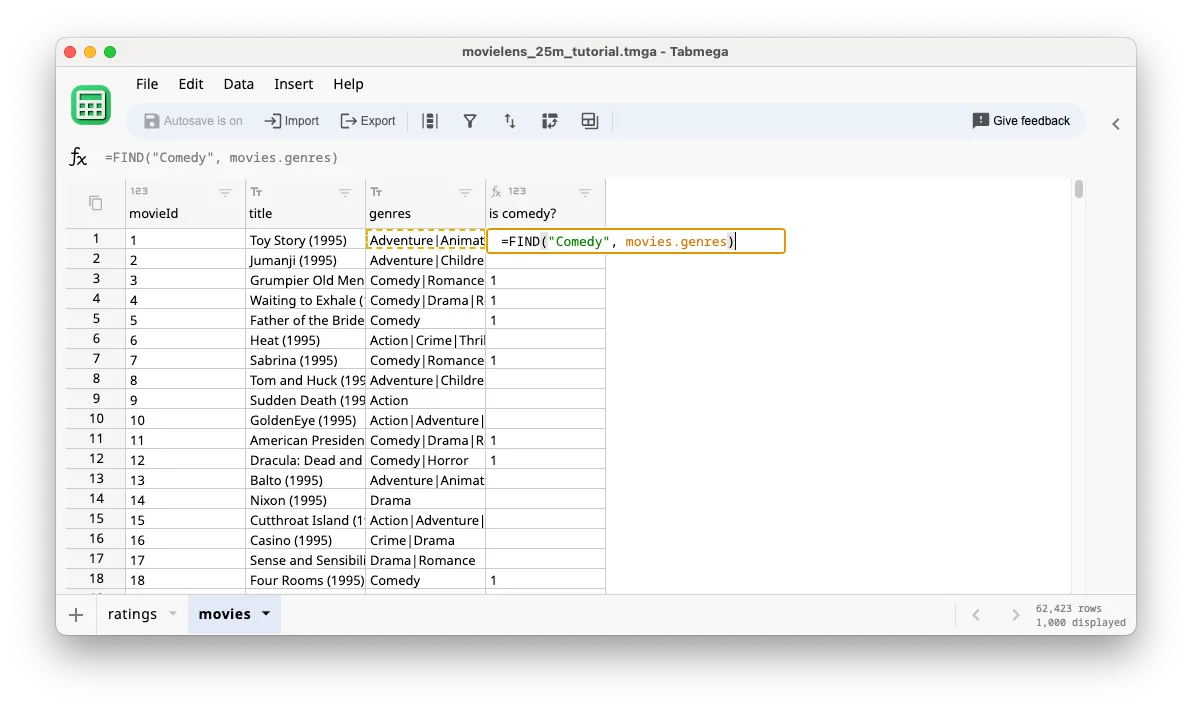
-
Enter
>0at the end of the formula
-
Hit the Enter key to finish the formula and see the update ready to apply:
-
Click the Apply button, or Shift+Enter to run the calculation and see
TRUEas the result now: